
Turning Product Photos into Manual-Ready Instruction Figures
How product teams can turn photos, CAD screenshots, sketches, and written procedures into clean user manual illustrations with ManualFig.
Product photos are useful for recognition, but they are rarely ready for manuals. They contain shadows, reflections, clutter, branding, perspective distortion, and background details that make instructions harder to scan. Manual-ready figures need a different grammar: clean product shape, clear action, arrows, callouts, step numbers, caution cues, and final confirmation states.
ManualFig helps teams move from "we have a photo" to "we have an instruction figure" without redrawing every panel by hand.
What makes a photo hard to use in a manual?
A raw product photo usually answers "what does the product look like?" A manual figure has to answer "what should the user do next?"
Common problems include:
- The camera angle hides the part the user must touch
- Reflections make edges and seams unclear
- Marketing lighting adds shadows that look like functional features
- Background objects compete with the instruction
- The image does not leave space for arrows, labels, warnings, or zoom callouts
The solution is not only cleanup. The image must be converted into a step-based visual instruction.
Give ManualFig both product context and task context
For best results, upload or describe the product, then write the user action as a procedure. For an appliance filter replacement, useful inputs might be:
- A product photo showing the front cover and filter position
- A short procedure: open cover, rotate filter, remove filter, align new filter, lock, check for leaks
- Safety notes: disconnect power, avoid water spill, do not force the filter
- Style notes: clean line art, subtle blue accents, numbered panels
The product photo controls the geometry. The procedure controls the sequence. The safety notes control the caution cues.
Ask for the output format you need
ManualFig can generate several instruction formats from the same source material:
- Single-panel action figure
- Multi-step quick start sheet
- Exploded assembly view
- Correct/incorrect comparison
- Troubleshooting flow
- Maintenance sequence
If the final destination is a printed manual or help center article, ask for wide panels with generous spacing. If the destination is a small printed insert, ask for fewer steps and larger symbols.
If the primary job is pure conversion from a reference photo, use language like "photo to line drawing for manuals" or "product line art from this product photo." If the job includes a procedure, describe the action too: "turn this photo into a manual illustration showing how to remove the filter." That difference maps to two common workflows: Photo to Line Drawing for Manuals and Product Photo to Manual Illustration.
Example prompt
Create a four-panel user manual illustration for replacing a water purifier filter.
Use the reference photo only for product shape.
Panel 1: open the front cover.
Panel 2: twist the old cylindrical filter counterclockwise and remove it.
Panel 3: align the tabs on the new filter with a zoom callout.
Panel 4: lock the filter and show a leak-check confirmation.
Use clean manufacturer instruction style, light background, blue arrows,
one amber caution icon, no brand logos, no realistic shadows.
This prompt tells the model what to preserve, what to remove, and what documentation structure to produce.
Keep generated figures reviewable
Manual figures usually go through product, documentation, support, and sometimes safety review. The easiest way to reduce revision time is to make each panel reviewable:
- One action per panel
- Arrows that point to the actual user interaction
- Callouts only where detail is needed
- Warnings placed near the relevant step
- A clear final state showing success
When a reviewer asks for a change, use targeted edits rather than regenerating everything. For example: "move the caution icon to panel 2," "make the filter tabs more visible," or "show the cover fully open before removal."
Use cases beyond printed manuals
Once the product photo has been converted into clean instruction artwork, the same visual family can support:
- Help center articles
- Training slides
- Support macros
- Packaging inserts
- Quick start cards
- Maintenance checklists
The value is consistency. Users see the same product shape, arrows, symbols, and action order across every support surface. When the destination is a full picture-led document rather than a single figure, the same workflow scales up: create a visual manual from product photos and reuse each panel across the manual, the insert, and the help center.
Takeaways
- Product photos are strong references, but weak final manual assets.
- Manual-ready figures need steps, arrows, warnings, callouts, and completion states.
- Better prompts combine product geometry, procedure order, safety notes, and style direction.
- ManualFig is useful when the team needs repeatable documentation artwork, not a one-off image.
Explore more workflow examples on the ManualFig solutions page, or start generating with your own product reference.
Author

Researcher · University of Arts in Poznan
Davie Chen is a researcher at the Faculty of Animation and Intermedia, University of Arts in Poznan, studying generative AI for scientific figure creation, patent illustration, instruction graphics, and manuscript drafting. ManualFig AI is one of the research-to-product tools built from this work.
View author profileCategories
More Posts

Manufacturing Assembly Instructions: Format, Examples, and How to Illustrate Each Station
What a manufacturing assembly instruction must contain, how to lay out one step per page, three worked station examples (torque, orientation, inspection), and a template you can copy.
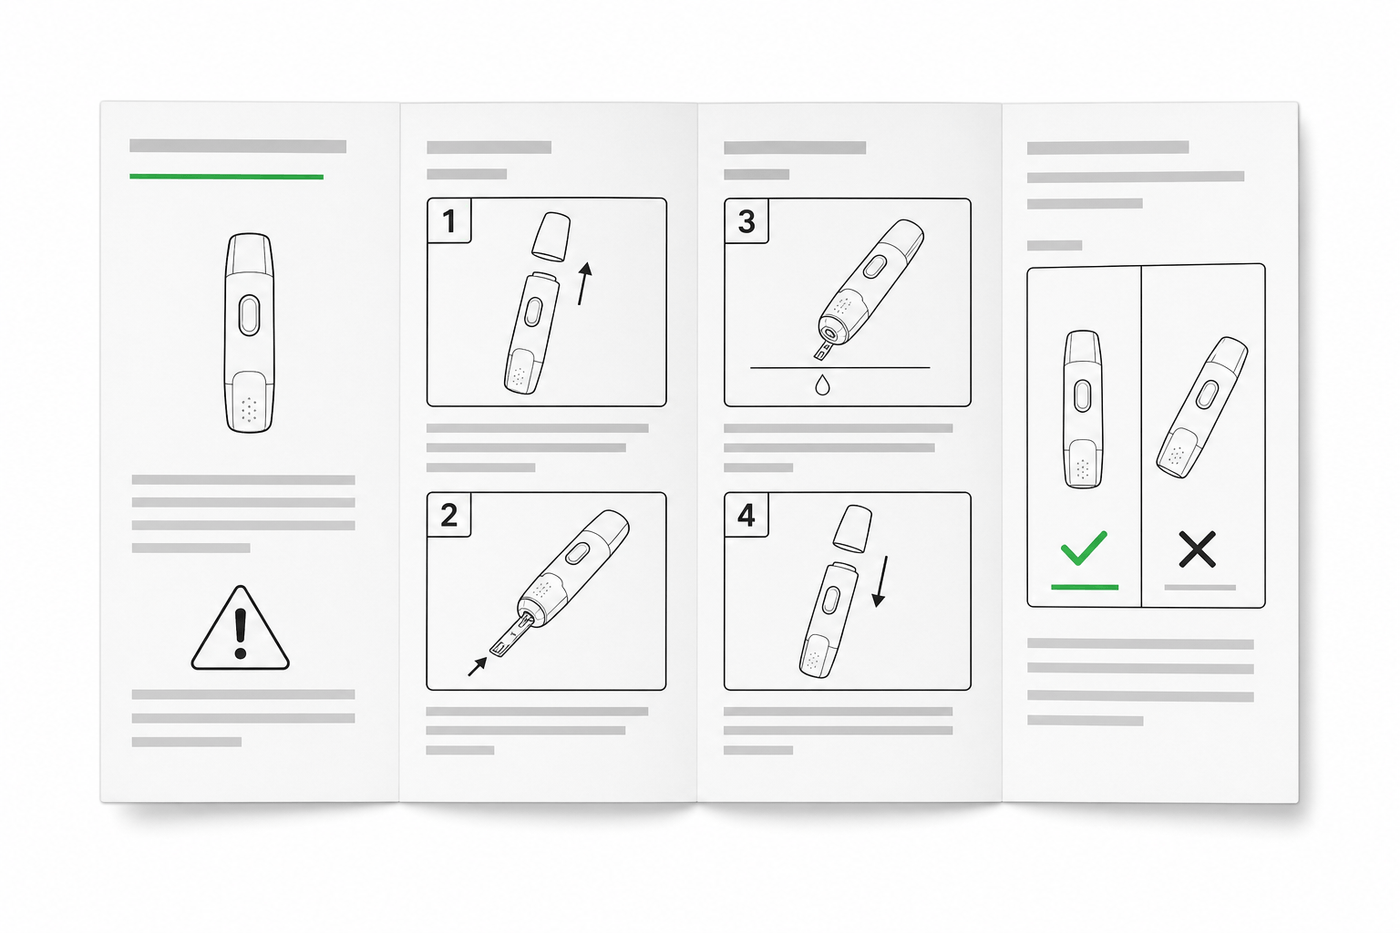
IFU Design Guide: Layout, Symbols & Examples
Practical IFU design guidance for medical devices: page layout, ISO 15223-1 symbols, warning panels, illustrations, and a reusable section template.
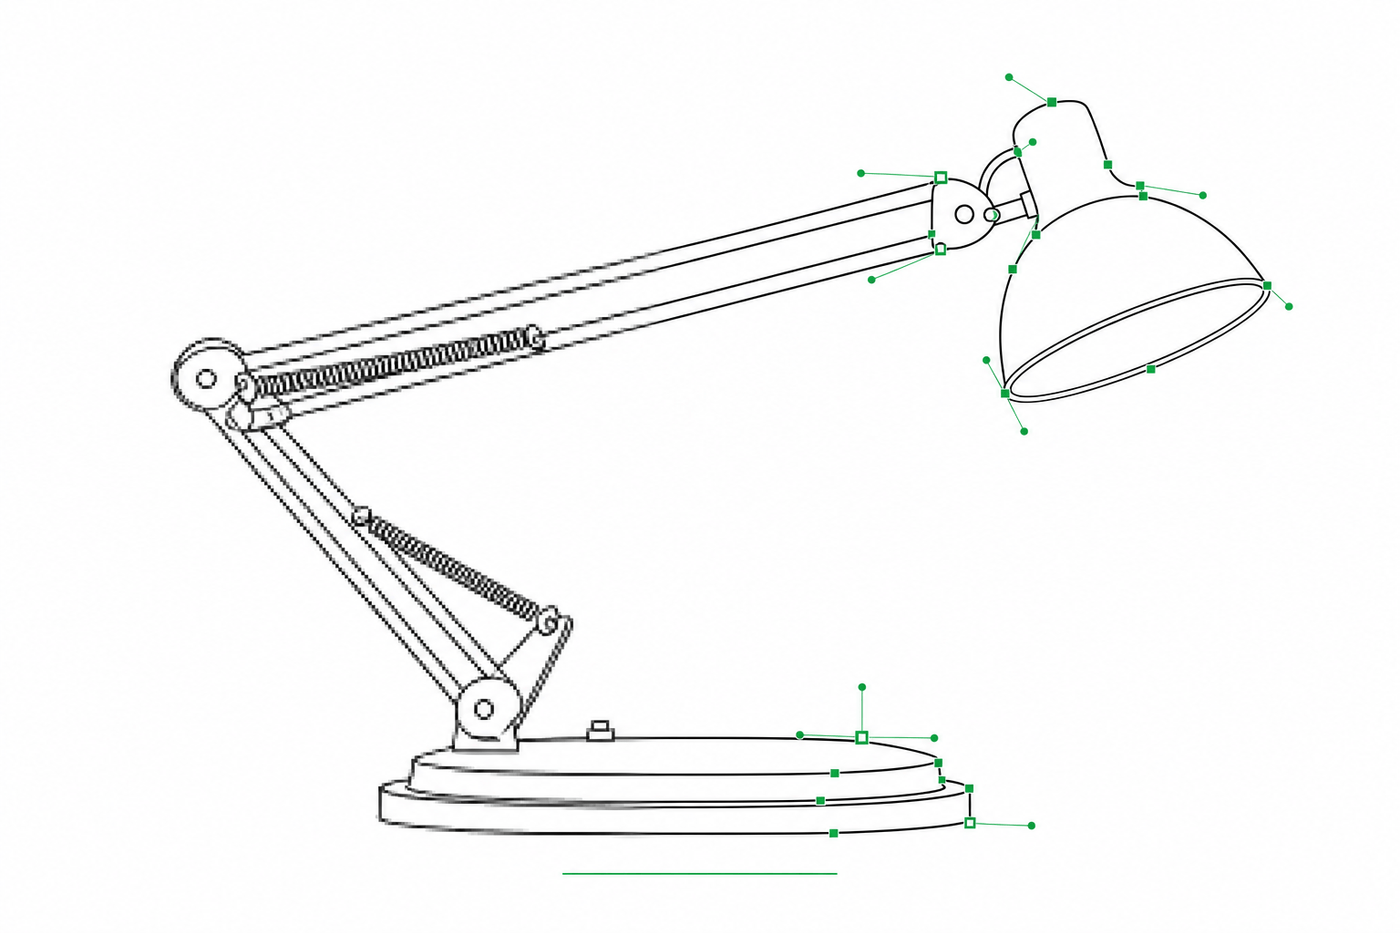
Image to SVG for Illustrator: How to Get Editable Strokes for Technical Line Art
Why many image-to-SVG conversions arrive in Illustrator as filled outlines you can't restyle — and two workflows that produce stroke-based, centerline-style SVG line art with adjustable line weights.