How to Create an Instruction Manual with Pictures
A practical workflow for product, support, and documentation teams to make an instruction manual with pictures from product photos and step descriptions.
Most product teams already have what they need to make an instruction manual with pictures: a few product photos, a list of steps the user has to do, and a sense of what can go wrong. The hard part is turning those raw materials into panels that a real reader can scan and follow without re-reading.
This guide is a working method for creating instruction manuals with pictures - the kind that fits a product manual, a quick start sheet, an IFU draft, or a support article.
Want to skip ahead? Open the ManualFig generator and start a manual with pictures from your own product photo.
If you already know the format you need, start with the narrower workflow: Product Manual Generator, Quick Start Guide Illustration Generator, Assembly Instruction Illustration Generator, or Maintenance Procedure Illustration Generator.
What "with pictures" actually means
A manual with pictures is not a brochure. It is a series of panels where each picture explains exactly one user action. The reader should not need to interpret the picture; the picture should already match what they are about to do.
That means a good manual picture usually shows:
- The product, recognisably, in the right orientation
- The user's hand, tool, or part doing the action
- An arrow that points to where the action is happening
- A small callout if a detail needs zoom
- A clear final state so the reader knows the step is done
Anything extra - reflections, marketing shadows, branding, scenery - works against the reader.
Step 1 - Pick photos that show the action, not just the product
Marketing photos are the wrong starting point. They flatter the product but hide the parts that matter.
Photos that work well for a manual:
- Plain background, even lighting
- Camera angle close to how the user actually sees the product
- The part the user has to touch is visible (not behind another surface)
- A second close-up of any small interaction (button, slot, tab, clip)
If you only have marketing photos, that is fine - use them as a shape reference and let ManualFig simplify the scene. The output will be a clean manual picture, not a copy of the photo.
Step 2 - Write each step as a single action
Long instructions break in translation, get split across pages, and trip up real users. The unit of a picture-based manual is one action per panel.
Rewrite each step as a short imperative phrase:
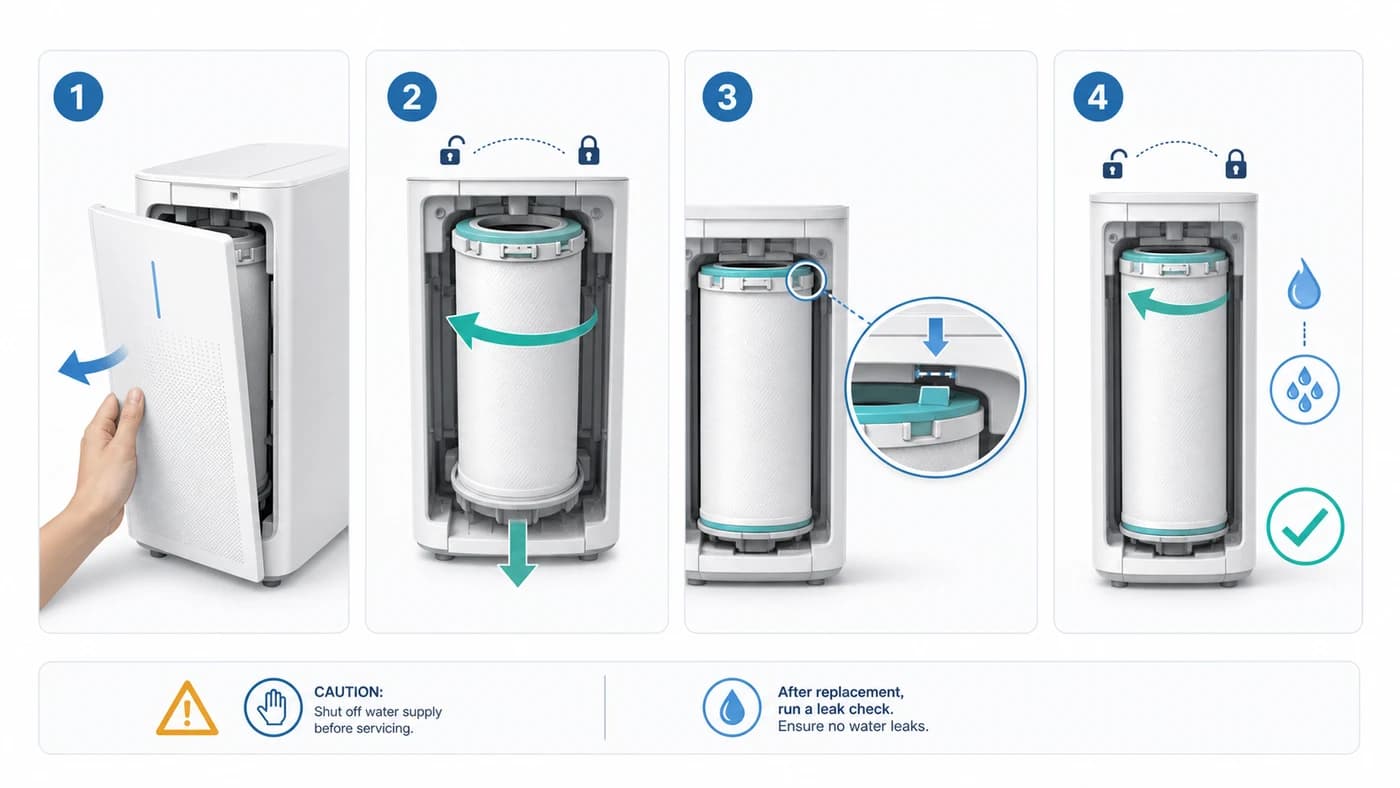
- Open the front cover
- Twist the filter counterclockwise and remove it
- Align the tabs on the new filter
- Lock the filter and check for leaks
If a step contains two actions, split it. If a step is just a label, drop it. If a step has a warning, keep the warning attached to that step, not on a separate page.
Step 3 - Mark what cannot be skipped
Before you start generating, tag every step with what the figure must include:
- A required warning ("disconnect power first")
- A required tool ("Phillips screwdriver, 4 mm")
- A required orientation ("flat side faces the wall")
- A required completion check ("filter clicks into place")
These are the cues that turn a generic figure into an actual instruction. Without them, the picture is just decoration.
Step 4 - Generate panels from photo + step + cue
This is where ManualFig fits in. The AI instruction manual diagram generator accepts:
- A product photo or CAD screenshot (geometry anchor)
- A short step description (what the user does)
- Optional cues (warnings, tools, orientation, completion state)
Each panel is generated separately, so you can keep what works and re-run the ones that do not. That is faster than re-drawing a whole sheet and easier to review than a single all-in-one image.
Example prompt
Create a four-panel instruction manual figure for replacing a water purifier filter.
Use the product photo only as a shape reference.
Panel 1: open the front cover, arrow on the cover handle.
Panel 2: twist the old filter counterclockwise, curved arrow, hand visible.
Panel 3: align the tabs on the new filter, zoom callout on the tabs.
Panel 4: lock the filter and show a leak-check confirmation, green check icon.
Clean manufacturer instruction style, light background, blue action arrows,
one amber caution icon on panel 1, no brand logos, no realistic shadows.
Notice the structure: product reference, panel-by-panel actions, where the arrows go, what symbols appear, what to avoid. That is the difference between "make a picture" and "make a manual picture."
Step 5 - Add numbered panels, arrows, and callouts
Once the individual panels look right, the manual itself needs to read as a sequence. The basics that almost every good picture-based manual uses:
- A number in each panel (top-left works well)
- Arrows that match the user's actual motion (curved for rotate, straight for insert, dotted for "look here")
- Callouts only when the detail is too small to see at the main scale
- Warning icons placed inside the panel they apply to, not on a separate row
If you already have an existing manual style in the family, keep using it. Consistency across pages is more valuable than any single panel being prettier.
Step 6 - Review with the people who answer support tickets
The fastest reviewers for instruction manuals are the people who already explain the same steps to customers - support, technicians, trainers. Show them the panels in order and ask one question: "Where would a customer get stuck?"
Common fixes:
- Swap an arrow direction
- Add a callout to a tiny clip or tab
- Move a warning earlier
- Add a "do not" panel for a frequent mistake
These edits are cheap in ManualFig because each panel is its own generation. You do not need to re-run the whole sheet to fix one arrow.
Step 7 - Export for the manual draft
When the panels are approved, export at the resolution your manual template needs - usually larger than you think, because print, PDF, and help-center renders all want different sizes. Keep the source prompts and references in the workspace so future revisions stay consistent.
Where this workflow fits
Instruction manuals with pictures are not only for the printed booklet. The same panel set tends to feed:
- Quick start cards
- Help center articles
- Support reply macros
- Technician training slides
- Packaging inserts
- Maintenance checklists
The value is consistency: same product shape, same arrows, same symbols, same action order, everywhere the customer touches the brand.
Takeaways
- A manual with pictures is one action per panel, not a photo collage.
- Photos work as a geometry reference; the figure must be cleaner than the photo.
- Tag each step with warnings, tools, orientation, and completion state before generating.
- Generate panel-by-panel so review is targeted, not a full re-run.
- Reuse the panel set across manual, help center, training, and support.
Ready to try it on your own product? Open the Instruction Manual Generator with Pictures for the picture-first flow, or jump straight into the ManualFig workspace.
Author

Researcher · University of Arts in Poznan
Davie Chen is a researcher at the Faculty of Animation and Intermedia, University of Arts in Poznan, studying generative AI for scientific figure creation, patent illustration, instruction graphics, and manuscript drafting. ManualFig AI is one of the research-to-product tools built from this work.
View author profileCategories
More Posts
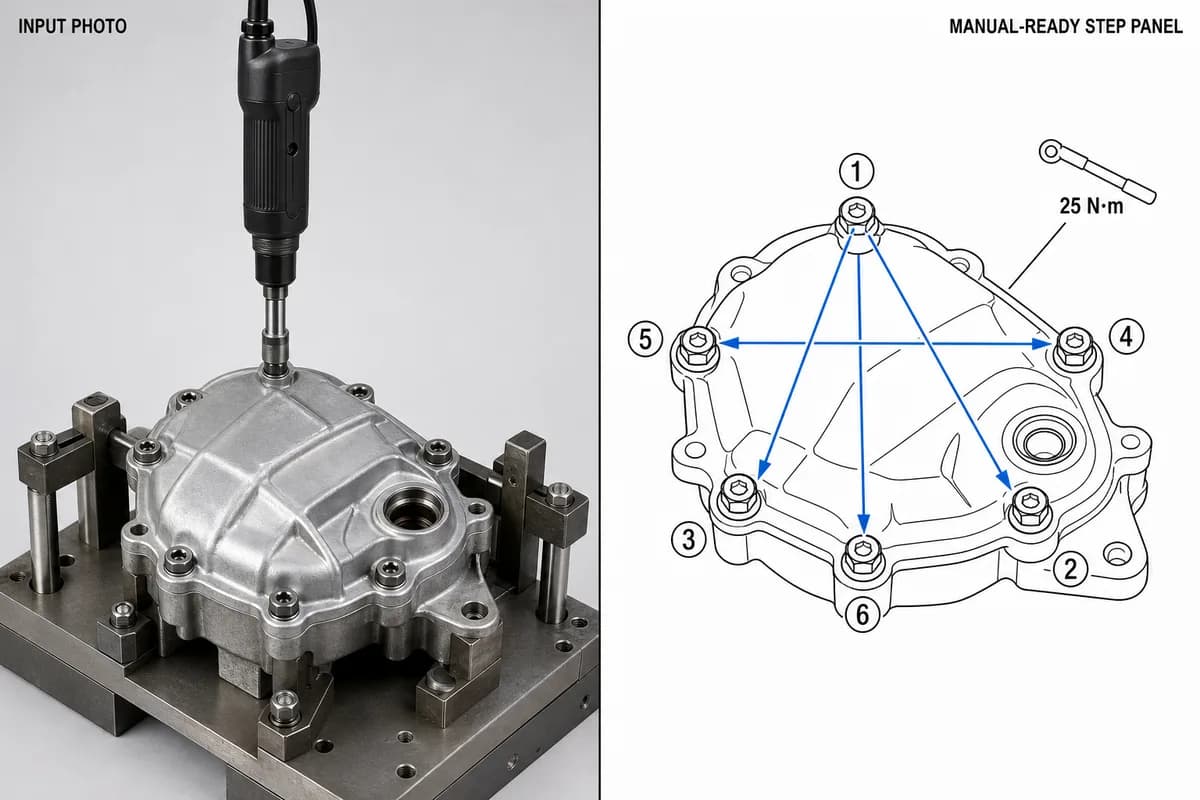
Manufacturing Assembly Instructions: Format, Examples, and How to Illustrate Each Station
What a manufacturing assembly instruction must contain, how to lay out one step per page, three worked station examples (torque, orientation, inspection), and a template you can copy.
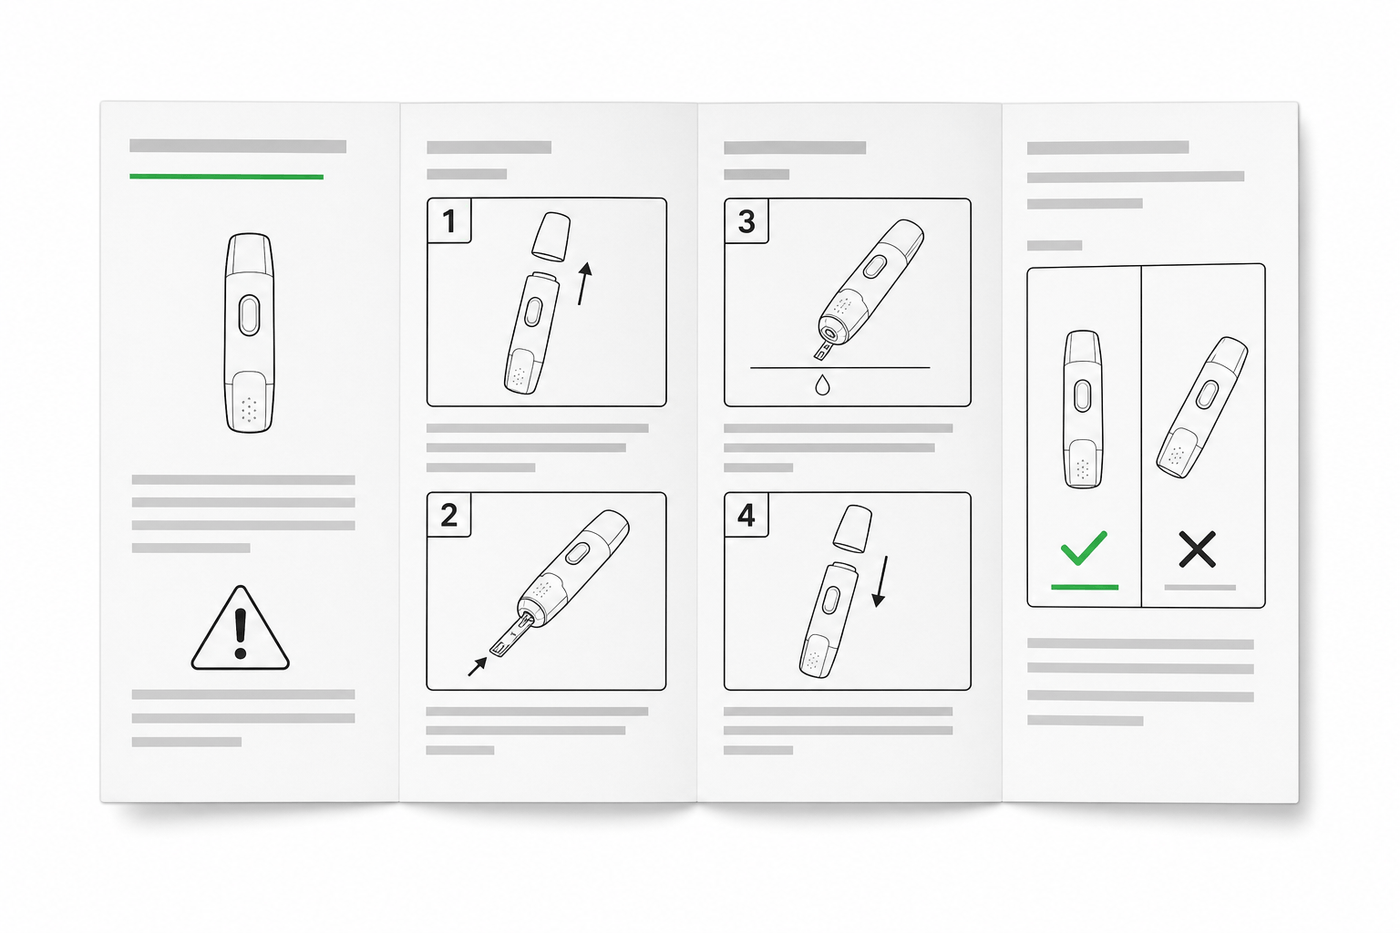
IFU Design Guide: Layout, Symbols & Examples
Practical IFU design guidance for medical devices: page layout, ISO 15223-1 symbols, warning panels, illustrations, and a reusable section template.
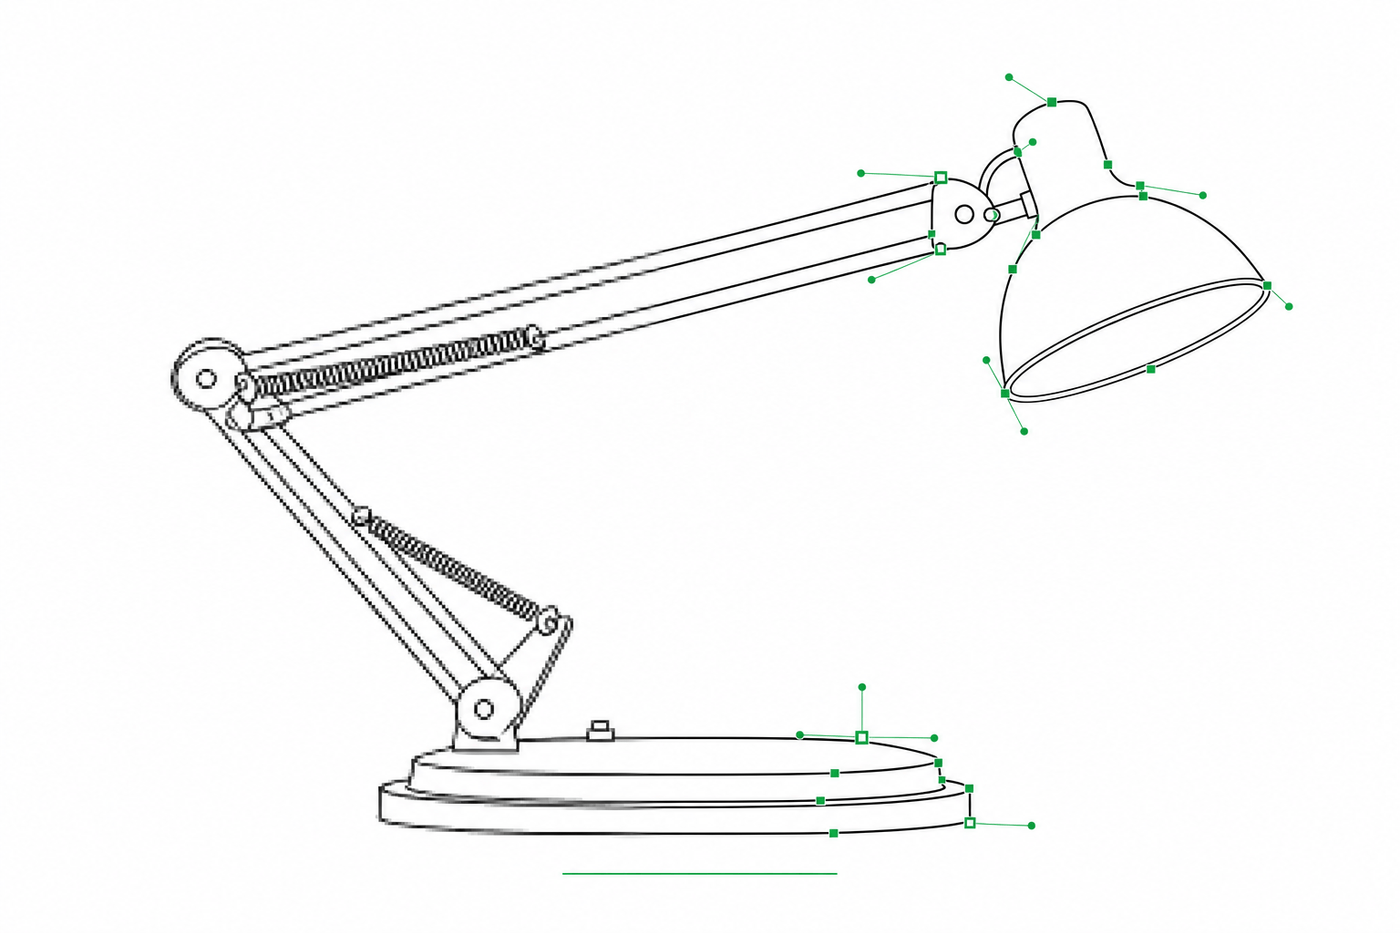
Image to SVG for Illustrator: How to Get Editable Strokes for Technical Line Art
Why many image-to-SVG conversions arrive in Illustrator as filled outlines you can't restyle — and two workflows that produce stroke-based, centerline-style SVG line art with adjustable line weights.