Product Manual vs User Manual vs Quick Start Guide: Which Images Each Needs
How to choose images for product manuals, user manuals, quick start guides, packaging inserts, IFU drafts, maintenance guides, and support docs.
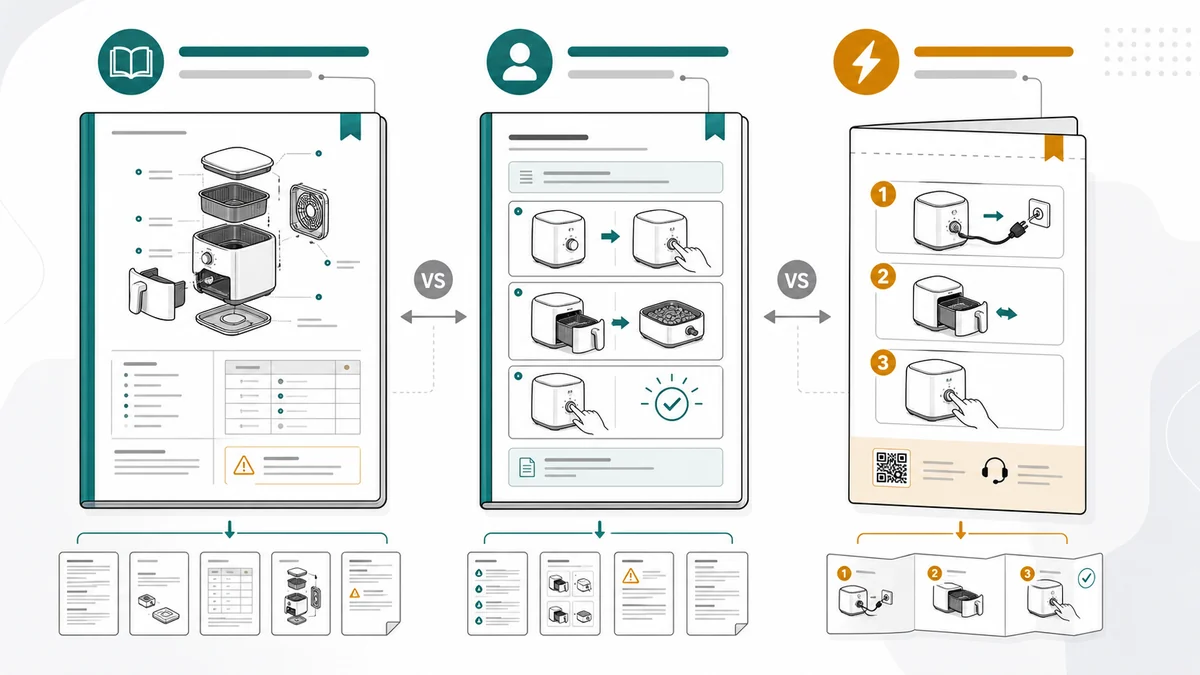
Product manual, user manual, and quick start guide are often used interchangeably, but the images inside them should not be the same.
A product manual can carry detailed setup, operation, care, maintenance, and troubleshooting. A user manual focuses on what the user needs to do safely and successfully. A quick start guide should get the user to first success with the fewest steps possible.
The fastest way to make a weak manual is to reuse one image set everywhere. A detailed exploded view may be perfect in a product manual and useless on a quick start card. A three-step first-use graphic may be perfect in the box and too shallow for a support article.
This guide separates the image jobs so you can prompt ManualFig for the right density, layout, and review level.
Common mistakes to avoid
Teams usually run into trouble in three ways:
- They use marketing photos where the reader needs an instructional diagram.
- They use one dense manual page where the reader needs a compact quick start flow.
- They create beautiful diagrams without deciding which document type they belong to.
Before generating images, name the document. "Create a product manual overview drawing" and "create a quick start guide panel" should not produce the same asset. The document type changes how much detail belongs on the page.
Product manual images
Product manuals need a broad visual set:
- Product overview
- Part callouts
- Setup and installation
- Operation steps
- Care and maintenance
- Troubleshooting
- Safety notes
Use Product Manual Generator pages when the search intent is broad.
A product manual can support deeper visuals because readers expect reference material. It can include:
- Exploded views to identify replaceable parts
- Product diagrams with callouts
- Setup and installation sequences
- Operation panels for common workflows
- Maintenance and cleaning procedures
- Troubleshooting flowcharts
- Safety panels and correct/incorrect states
The risk is overload. Put overview images near reference sections and action images near procedures. Do not ask one diagram to be both a parts catalog and a step-by-step guide.
Product manual prompt
Create a product manual illustration set for a compact appliance.
Include one product overview with part callouts, one setup sequence, one maintenance panel, and one troubleshooting check panel.
Use consistent black line art, blue action arrows, amber caution icons, and short neutral labels.
No brand logos, no certification marks, no decorative background.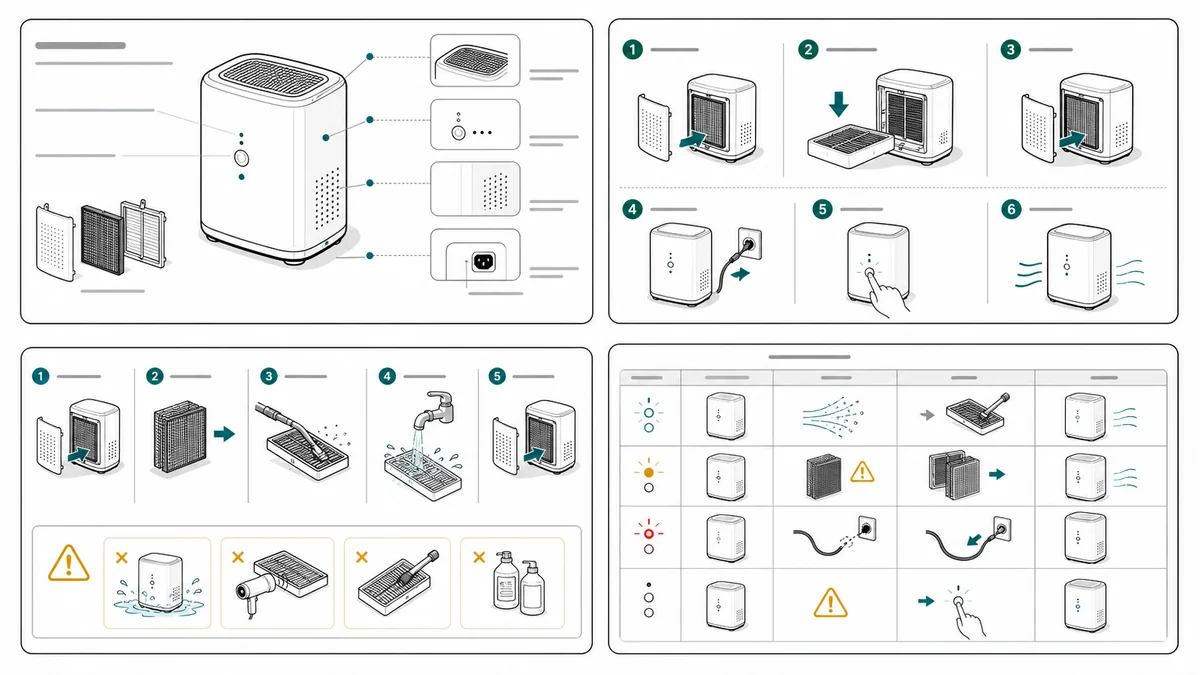
User manual images
User manual illustrations should focus on what a person does with the product:
- Open, press, insert, align, lock, charge, pair
- Correct/incorrect states
- Warnings near risky steps
- Maintenance actions users can safely perform
Use User Manual Illustration Generator pages when the user action is central.
User manual images sit between product reference and quick start brevity. They need enough detail to be safe, but not so much that the user loses the action.
Strong user manual visuals usually show:
- One action per panel
- The product from the user's real angle
- A hand, tool, cable, or part when needed
- A final confirmation state
- Warnings placed in the step where the risk appears
User manual prompt
Create a five-panel user manual illustration for first-time setup.
Panel 1: charge the product.
Panel 2: open the cover.
Panel 3: insert the cartridge with the arrow facing up.
Panel 4: close the cover until it clicks.
Panel 5: press power and show ready light.
Use numbered panels, clean line art, blue arrows, and one warning cue where the cover closes.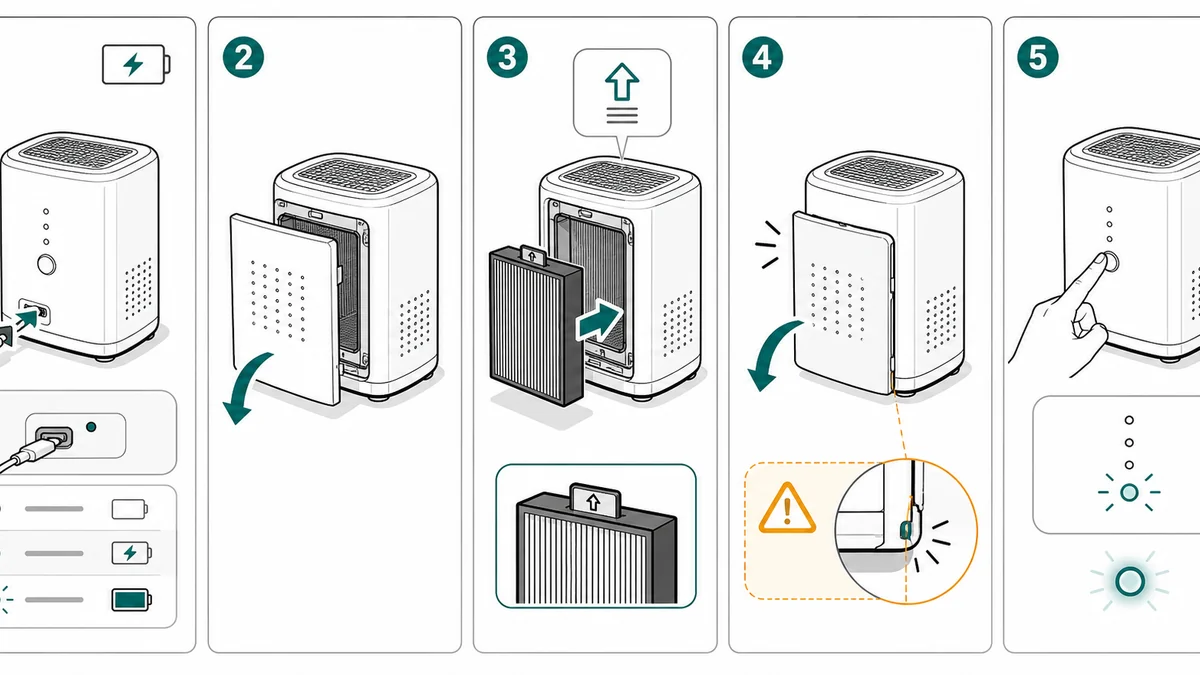
Quick start images
Quick start guide images should be compact:
- One first-use flow
- Few panels
- Large actions
- Minimal labels
- Clear final confirmation
Use Quick Start Guide Illustration Generator when the goal is first successful use, not full documentation.
Quick start visuals should deliberately leave things out. They should not explain every feature, every warning, or every maintenance option. Their job is to get the user from unboxing to first success.
Good quick start images show:
- What is in the box if it affects first use
- The first physical action
- The first connection, charge, insert, or pairing step
- The final ready state
- A support handoff if the user gets stuck
Quick start prompt
Create a compact quick start guide illustration for a small electronics product.
Use four panels: unbox, charge, hold power, confirm ready light.
Use large simple drawings, minimal labels, strong arrows, and a final checkmark.
Leave space for a QR support link, but do not include real readable text.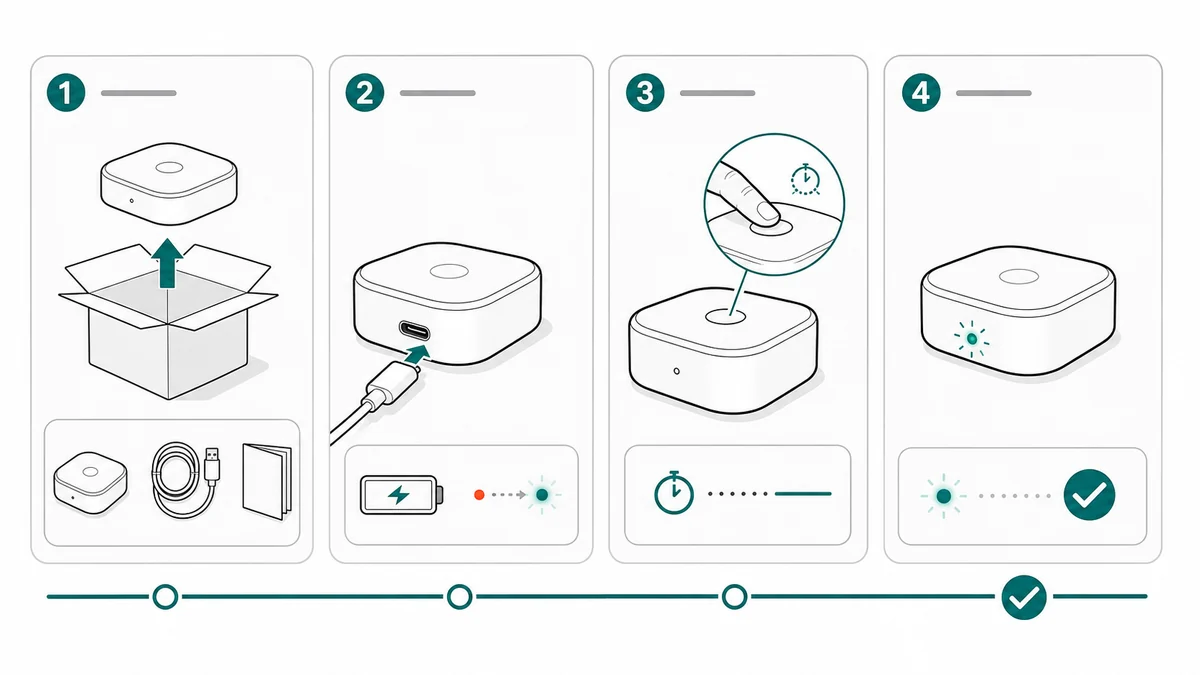
Packaging Inserts
Packaging inserts are quick start guides under tighter space constraints. They need larger icons, fewer panels, and strong support handoff. Use Packaging Insert Instruction Generator when the final asset will go inside the box.
For packaging inserts, the image must survive print size, folding, and quick scanning. Avoid tiny labels and dense multi-panel diagrams. If the buyer needs more detail, use the insert to send them to a help page or full manual.
Comparison table
| Document type | Image goal | Best image types | Avoid |
|---|---|---|---|
| Product manual | Complete product reference and procedures | Overview diagrams, exploded views, setup, operation, maintenance, troubleshooting | One giant diagram that tries to explain everything |
| User manual | Help the user perform tasks safely | Step panels, correct/incorrect states, warnings, final checks | Marketing photos and vague lifestyle images |
| Quick start guide | Reach first success fast | Three to five panels, large arrows, ready state | Feature lists and dense labels |
| Packaging insert | Compact onboarding inside the box | Minimal setup sequence, support handoff, safety cue | Tiny text and overloaded layouts |
| Help center article | Solve one problem | Symptom image, check panel, close-up, final state | Generic product overview |
| Maintenance guide | Repeat a service procedure | Safe state, removal, cleaning/replacement, reinstall, inspection | Missing final lock or safety state |
How to choose the image set before writing
Start with the reader's question:
- "What is this part?" Use a product overview or exploded view.
- "What do I do first?" Use a quick start panel.
- "How do I complete this procedure?" Use step-by-step user manual panels.
- "Did I install it correctly?" Use correct/incorrect or final-state images.
- "Why is it not working?" Use troubleshooting checks.
- "How do I maintain it?" Use a maintenance sequence.
Then choose the page density. Product manuals can hold reference and procedure images. Quick starts and inserts need a narrow first-use path. Support articles should solve one symptom at a time. When one document needs the full picture-led set — overview, steps, warnings, and final checks — a visual instruction manual maker generates the whole family from the same product photos.
Why naming the document type comes first
The prompt for a product manual and the prompt for a quick start can look almost identical at the top line - "show a user replacing the filter" - but the figures they should produce are not. A product manual figure can carry 10-12 callouts on one page, because the reader has time and an index. A quick start panel that carries 10 callouts is unreadable because the reader is standing over the box with one hand on the product.
If the prompt does not name the document type, the model averages those targets and produces a figure that is too dense for a quick start and too thin for a manual. Naming the document type is the single setting that controls:
- Density. Manual = many callouts allowed. Quick start = at most two per panel.
- Label length. Manual = full phrases. Insert = single words or symbols.
- Panel count. Manual = unlimited. Quick start = 3-5. Insert = 1-3.
- Failure modes shown. Manual = correct/incorrect for any error class. Quick start = only the most expensive mistake.
- Review path. Manual = product + legal + support. Insert = product + packaging. Help center = support only.
This is why the workflow below starts with the document type, not with the reference photo.
A practical ManualFig workflow
ManualFig can generate visual assets for all of these document types, but the prompt should name the document type. That changes density, layout, label length, and review expectations.
- Choose the document type before generating.
- Upload product photos, CAD screenshots, sketches, or existing manual pages as references.
- Write the reader's goal in one sentence.
- Decide whether the image should be an overview, step sequence, comparison, troubleshooting flow, or maintenance checklist.
- Generate the first image set.
- Revise for document density: more detail for product manuals, less detail for quick starts and inserts.
- Export the approved assets and reuse them across related pages where appropriate.
For a full content cluster, connect the broad page to narrower workflows: Product Manual Generator, User Manual Illustration Generator, Quick Start Guide Illustration Generator, Packaging Insert Instruction Generator, and Troubleshooting Guide Illustration Generator.
Author

Researcher · University of Arts in Poznan
Davie Chen is a researcher at the Faculty of Animation and Intermedia, University of Arts in Poznan, studying generative AI for scientific figure creation, patent illustration, instruction graphics, and manuscript drafting. ManualFig AI is one of the research-to-product tools built from this work.
View author profileCategories
More Posts
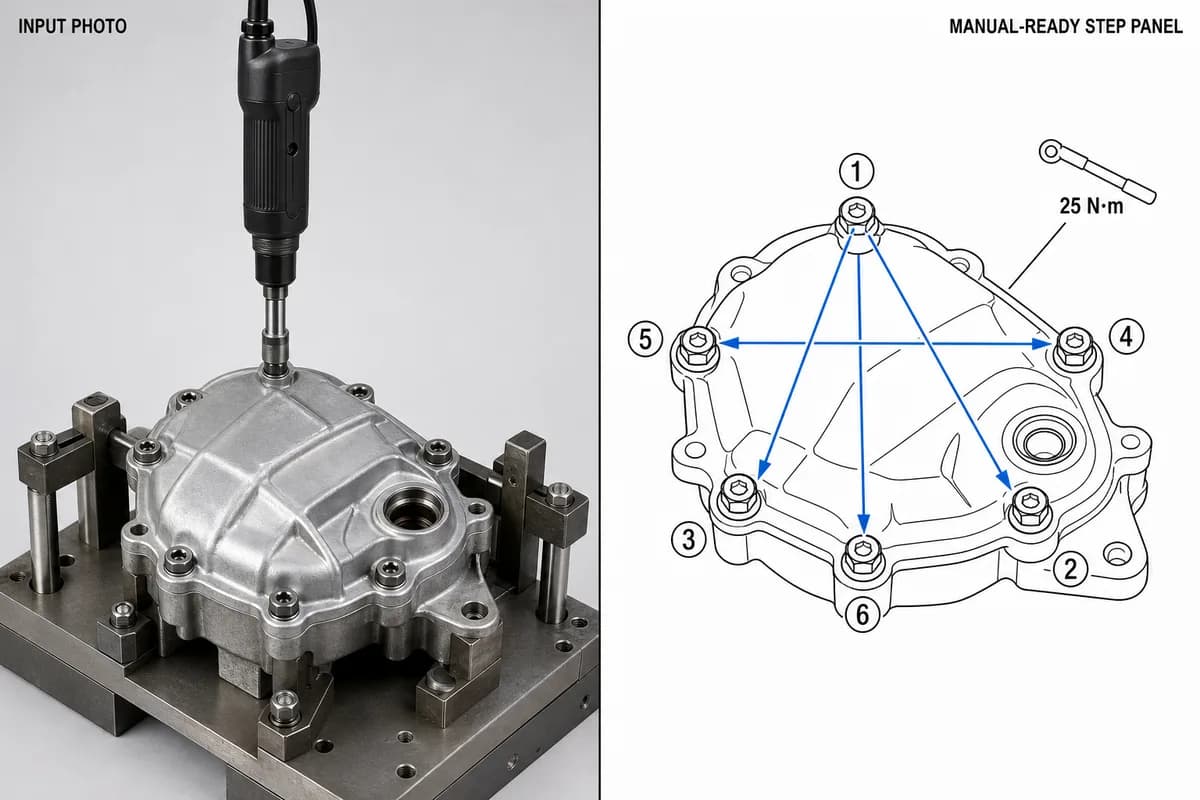
Manufacturing Assembly Instructions: Format, Examples, and How to Illustrate Each Station
What a manufacturing assembly instruction must contain, how to lay out one step per page, three worked station examples (torque, orientation, inspection), and a template you can copy.
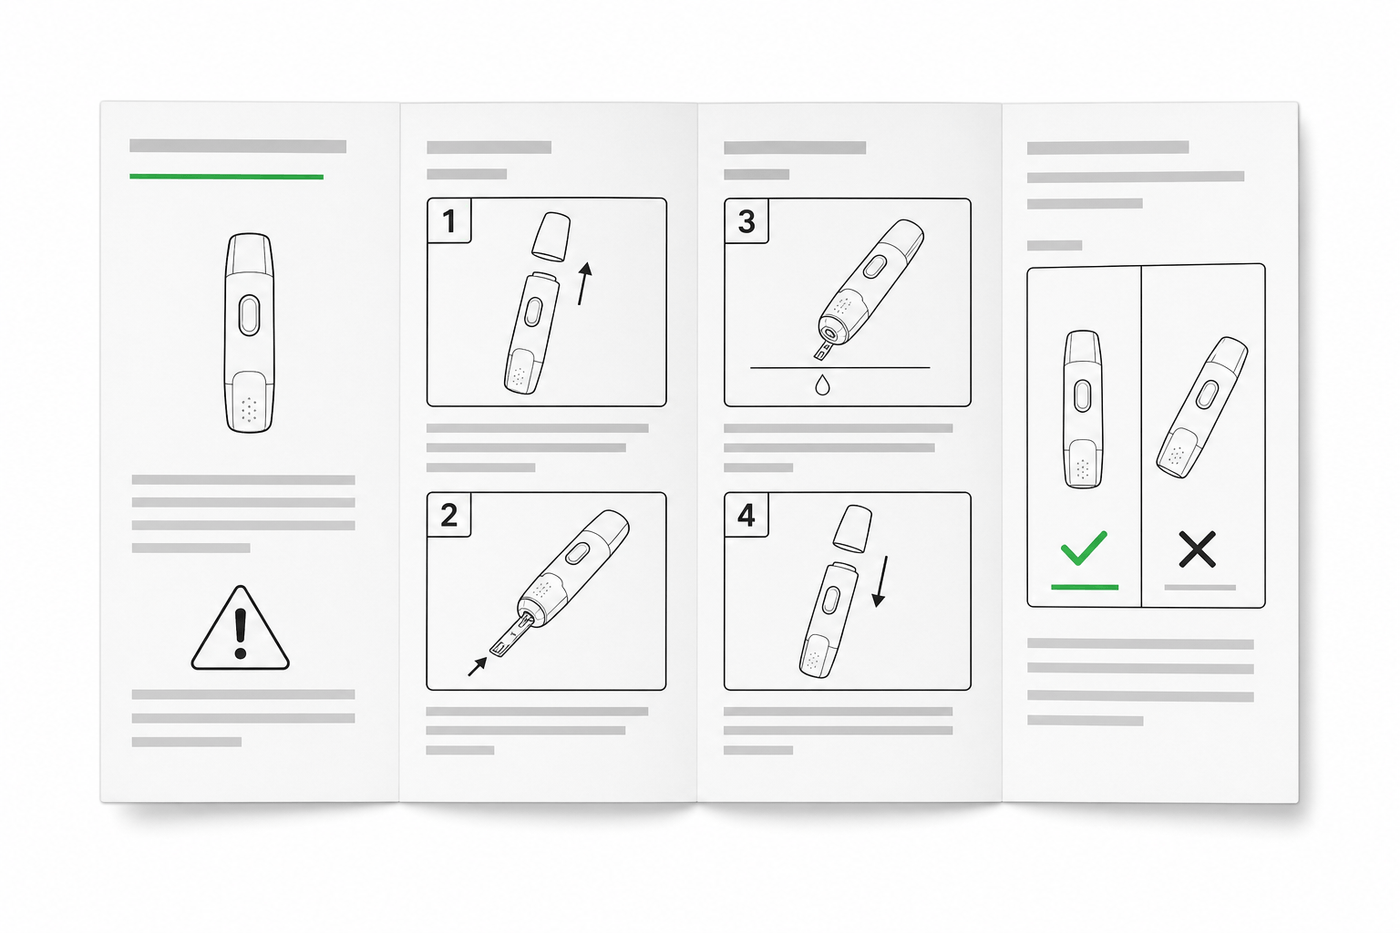
IFU Design Guide: Layout, Symbols & Examples
Practical IFU design guidance for medical devices: page layout, ISO 15223-1 symbols, warning panels, illustrations, and a reusable section template.
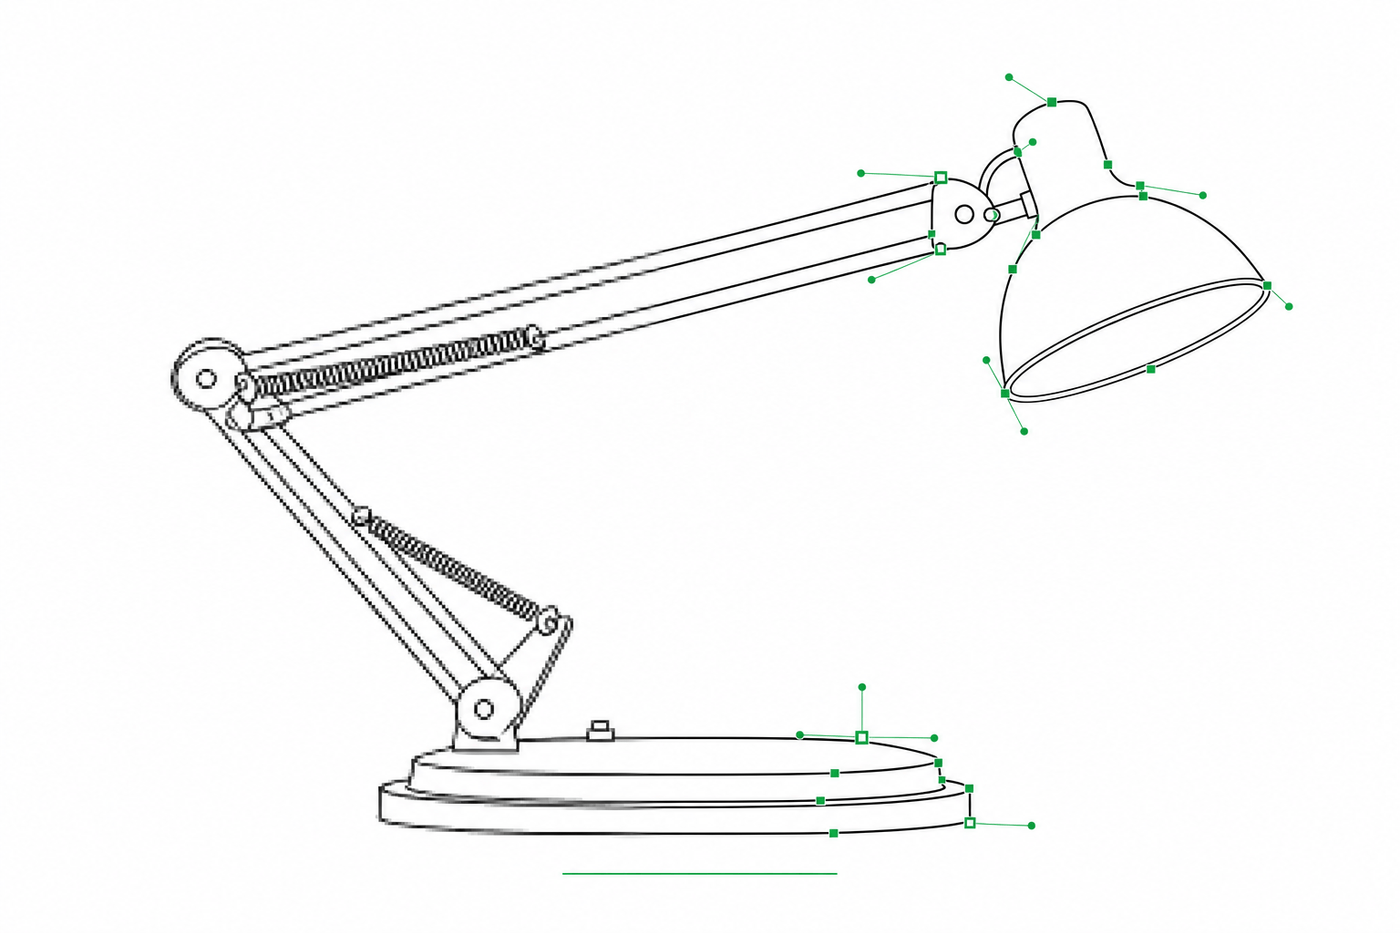
Image to SVG for Illustrator: How to Get Editable Strokes for Technical Line Art
Why many image-to-SVG conversions arrive in Illustrator as filled outlines you can't restyle — and two workflows that produce stroke-based, centerline-style SVG line art with adjustable line weights.