How to Turn a Photo Into a Line Drawing for Manuals
A practical guide to converting a product photo into a clean line drawing for instruction manuals, inserts, and support content — without a drawing app.
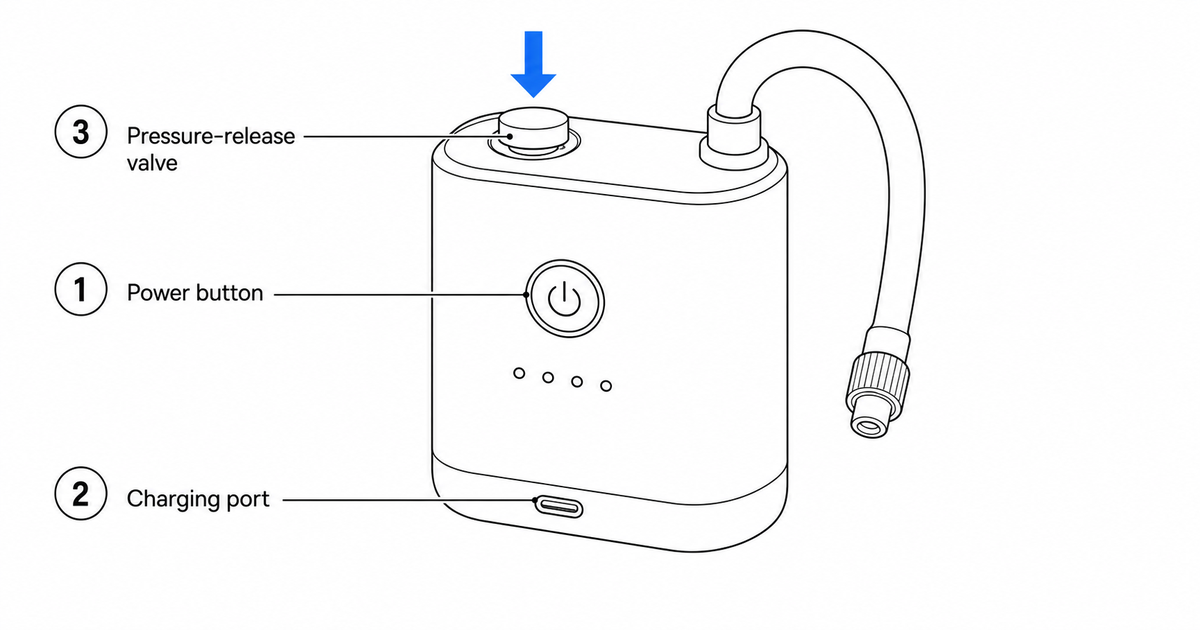
A hardware startup is shipping a portable air pump next week and the manual is the last thing left. The photographer delivered beautiful product shots: glossy black housing, soft studio lighting, a tasteful gradient background. They look great on the box. But when the team drops one into the setup page and tries to point at the pressure-release valve, the valve is half-lost in a reflection, the matte and gloss surfaces fight for attention, and the printed page turns muddy and gray. The photo answers "what does this look like?" The manual needs to answer "where do I press?"
That is the moment most people search for how to turn a photo into a line drawing. They do not want art. They want the noise gone and the shape kept, so a reader can find the valve in half a second.
Use the Photo to Line Drawing for Manuals tool to convert a photo into manual-ready line art in one step.
This guide covers what a manual line drawing actually is, how to convert a photo step by step, a reusable prompt template, the mistakes that send figures back from the print team, when a photo is still the better choice, and how to pick PNG versus SVG.
What "line drawing" means for a manual
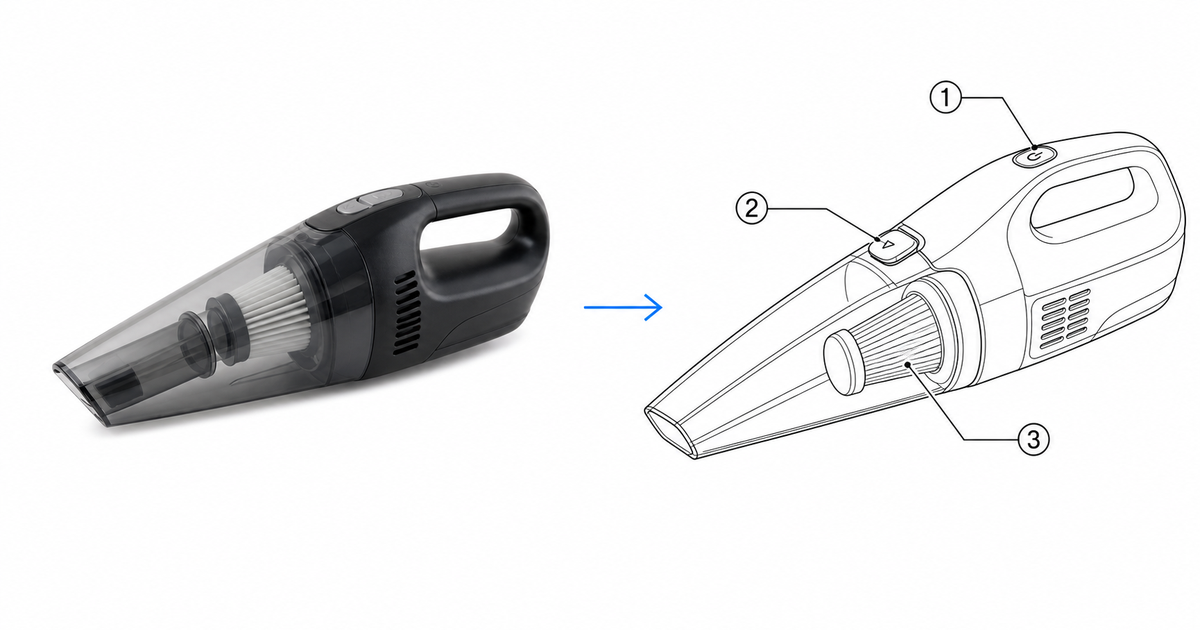
When people say "convert photo to line drawing online," they often picture an art filter — a sketchy, pencil-shaded effect. That is the wrong target for documentation. A manual-ready line drawing is closer to a technical illustration than to art. It has a job: make one part or one action unmistakable.
A good manual line drawing has:
- Clean, single-weight black outlines on a plain white background
- Simplified surfaces — no shading, gradients, reflections, or photographic texture
- Numbered callouts with thin leader lines pointing at the parts a reader must find
- Optional thin blue arrows for any motion: open, slide, press, pull, rotate
- Enough blank margin for captions, step numbers, or translated labels
What it deliberately throws away is just as important: the background, the brand reflections, the lifestyle props, the realistic lighting. Those carry zero instructional value and actively compete with the one part you are trying to highlight.
How to convert a photo, step by step
You can do this in a vector editor by hand, but for a product manual the faster path is to let a tool trace the geometry and then refine the result. Either way the workflow is the same:
- Start from the clearest photo you have. A straight-on or three-quarter angle reads best. Avoid busy backgrounds, motion blur, and extreme close-ups where the product silhouette is cut off.
- Convert to outline-only line art. Upload the photo and generate a black-line drawing on a white background. The goal of this first pass is just the correct shape and the right parts — not labels yet.
- Trim what the step does not need. If the panel is about one valve, crop or fade everything that is not the valve and its immediate surroundings.
- Add numbered callouts. Number the buttons, ports, and removable parts, and connect each number to its part with a thin leader line.
- Show the action. Add a blue arrow in the exact direction of the motion, or an enlarged detail circle for a component too small to read at page size.
- Mark the final state. Show what "done" looks like — closed, clicked, seated, sealed, aligned — so the reader can self-check.
- Export. Save PNG for a single document, or vectorize to SVG when the figure will appear at more than one size.
The trick is to treat the photo as a geometry reference, not the deliverable. The photo tells the tool what the product looks like; your prompt tells it what the figure is for.
A prompt template you can reuse
If you are converting with an AI tool, the prompt does most of the work. Vague prompts produce sketchy filtered photos; specific prompts produce manual figures. Start from this and swap in your own parts and actions:
Convert this product photo into clean manual line art.
View: three-quarter front view of the device.
Style: single-weight black outlines on a white background, no shading, no gradients, no reflections, no background, no brand logos or text.
Callouts: number the power button (1), the charging port (2), and the pressure-release valve (3) with thin leader lines.
Action: add one thin blue arrow showing the valve being pressed downward.
Leave margin below the figure for a caption.
Two rules make this reliable. First, name the parts explicitly — "the pressure-release valve," not "the important button" — so the callouts land where you mean. Second, list what to exclude (logos, shadows, background); generated art will happily invent a logo or a drop shadow if you do not forbid it.
For a multi-step panel, describe one action per panel and the final state of each, rather than asking for "instructions" in the abstract.
Common mistakes to avoid
These are the patterns that get figures bounced back or quietly confuse readers:
- Keeping shading or color. It prints muddy at 96 dpi and pulls the eye away from the step. Manual line art should be flat black on white.
- Drawing the whole product for a one-part step. If the step is "press the valve," the reader should not have to scan the entire housing first. Enlarge the part that matters.
- Arrows that point near the action, not at it. An arrow that lands a centimeter off the contact point is worse than no arrow.
- Letting the tool invent details. Generated line art will cheerfully add a fake logo, a model number, or a certification mark. Remove anything you did not put there on purpose.
- Long labels. A label that fits in English may overflow after translation into German or Japanese. Keep labels short and lean on numbered callouts.
- Forgetting the final state. "Closed," "seated," "sealed" — without it, the reader cannot confirm they did the step correctly.
When a photo is still the better choice
Line art is not always the answer, and using it everywhere is its own mistake.
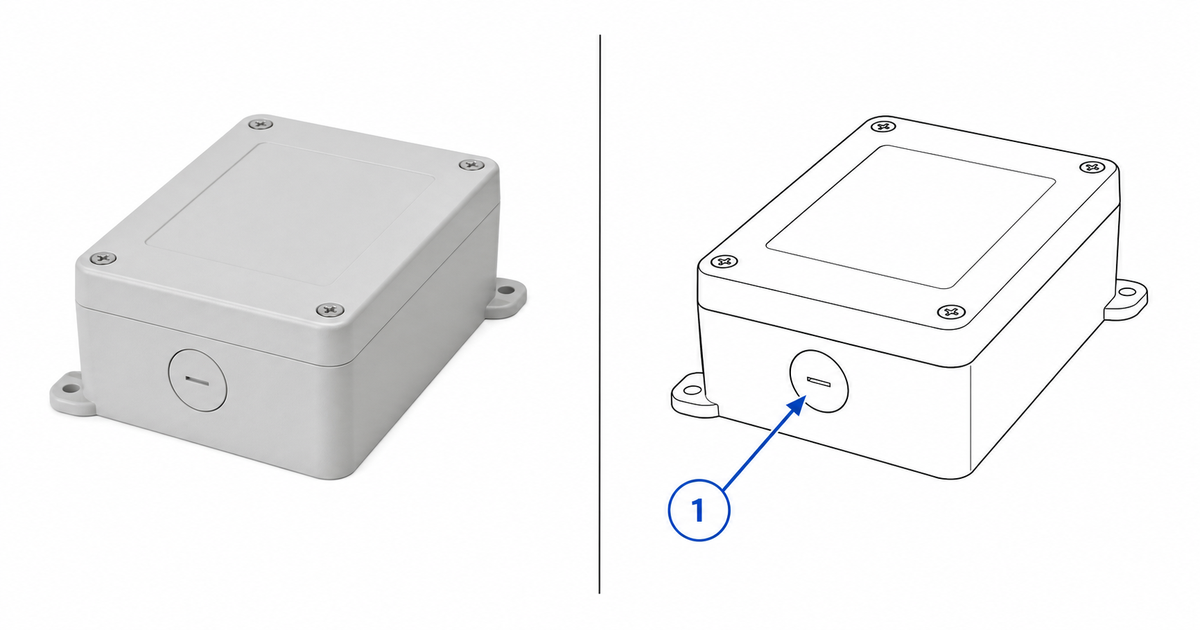
Keep the photo when:
- Surface finish or color is the point. "Match the cable to the matte gray port, not the glossy black one" needs real color and texture.
- The reader is verifying a real-world condition. A photo of correct versus corroded contacts, or a clean versus clogged filter, carries information a line drawing flattens away.
- Trust matters more than clarity. A product hero image on a packaging front or a store listing should usually stay photographic.
A common and effective pattern is to use both: the photo establishes what the product really looks like, and the line drawing directs the specific action. Many manuals open a section with one photo and then run line-art panels for each step.
Output formats: PNG or SVG?
Most teams default to PNG and only switch when something breaks. A cleaner rule is to choose by reuse:
- PNG is right when the figure lives at exactly one size on one channel — a help-center article, a support reply, an internal draft. It also wins when the figure keeps any generated shading or texture an SVG export would lose.
- SVG is right when the figure appears at two or more sizes — print plus web, manual plus insert, full page plus thumbnail. The same arrow, label, and line weight scale without re-rendering, and a 1200px PNG dropped into a printed A4 page (where it lands around 96 dpi and blurs) stops being a problem.
If you are unsure, default to SVG. Downgrading SVG to PNG is one click; going the other direction means generating again. And if the SVG will be edited in Illustrator — restyling line weights for print, for example — make sure it is stroke-based rather than outline-traced; our guide to editable-stroke SVG for Illustrator shows the difference with downloadable files. And whatever you ship, archive the prompt and the source photo next to the export — the next product revision becomes a prompt edit instead of a redraw.
FAQ
How do I turn a photo into a line drawing online without Photoshop?
Upload the photo to a tool built for manual line art, generate an outline-only version, then add numbered callouts and arrows. You do not need a desktop drawing app — the conversion and the callouts happen in the browser, and you export PNG or SVG at the end.
Will the line drawing look exactly like my product?
It will keep the recognizable silhouette and the parts you name, but it deliberately simplifies surfaces and drops the background. That is the goal: a reader should recognize the product and immediately see the part the step is about, not study a photo-accurate render.
What photo works best as a source?
A sharp, evenly lit, straight-on or three-quarter shot with the whole product in frame and a plain background. Avoid heavy reflections, deep shadows, and angles that hide the part you need to call out.
Can I edit the drawing after converting?
Yes. Once you have a clean base drawing you can keep iterating — move a callout, add a step, change an arrow, or generate a new variant — in the full workbench, then export when it is ready.
Related: Product Line Art Generator, Technical Illustration Generator, Product Line Art for Manuals, Instruction Manual Generator with Pictures.
Author

Researcher · University of Arts in Poznan
Davie Chen is a researcher at the Faculty of Animation and Intermedia, University of Arts in Poznan, studying generative AI for scientific figure creation, patent illustration, instruction graphics, and manuscript drafting. ManualFig AI is one of the research-to-product tools built from this work.
View author profileCategories
More Posts

Manufacturing Assembly Instructions: Format, Examples, and How to Illustrate Each Station
What a manufacturing assembly instruction must contain, how to lay out one step per page, three worked station examples (torque, orientation, inspection), and a template you can copy.
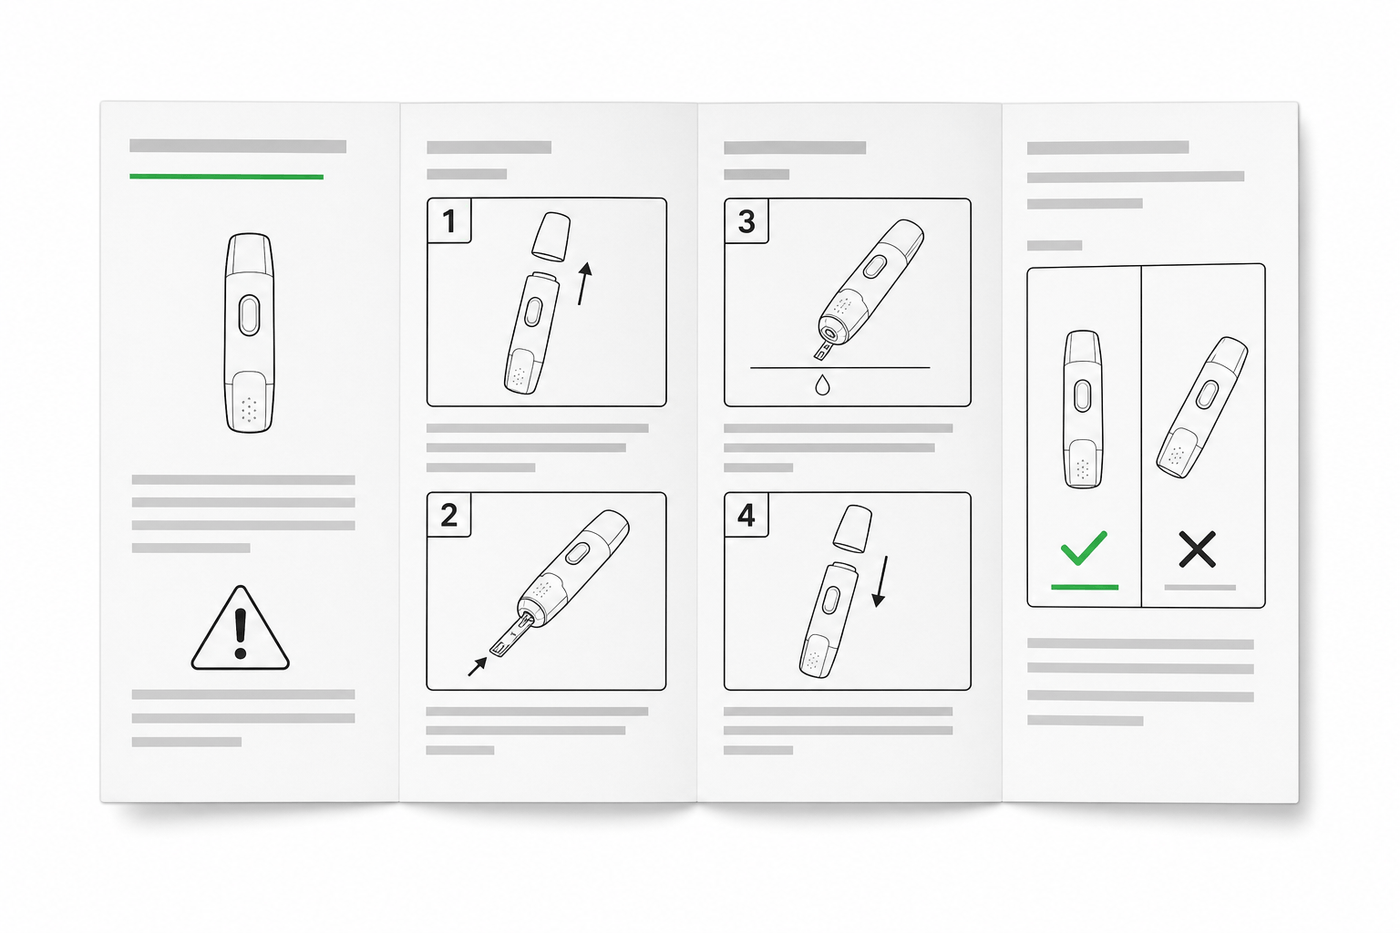
IFU Design Guide: Layout, Symbols & Examples
Practical IFU design guidance for medical devices: page layout, ISO 15223-1 symbols, warning panels, illustrations, and a reusable section template.
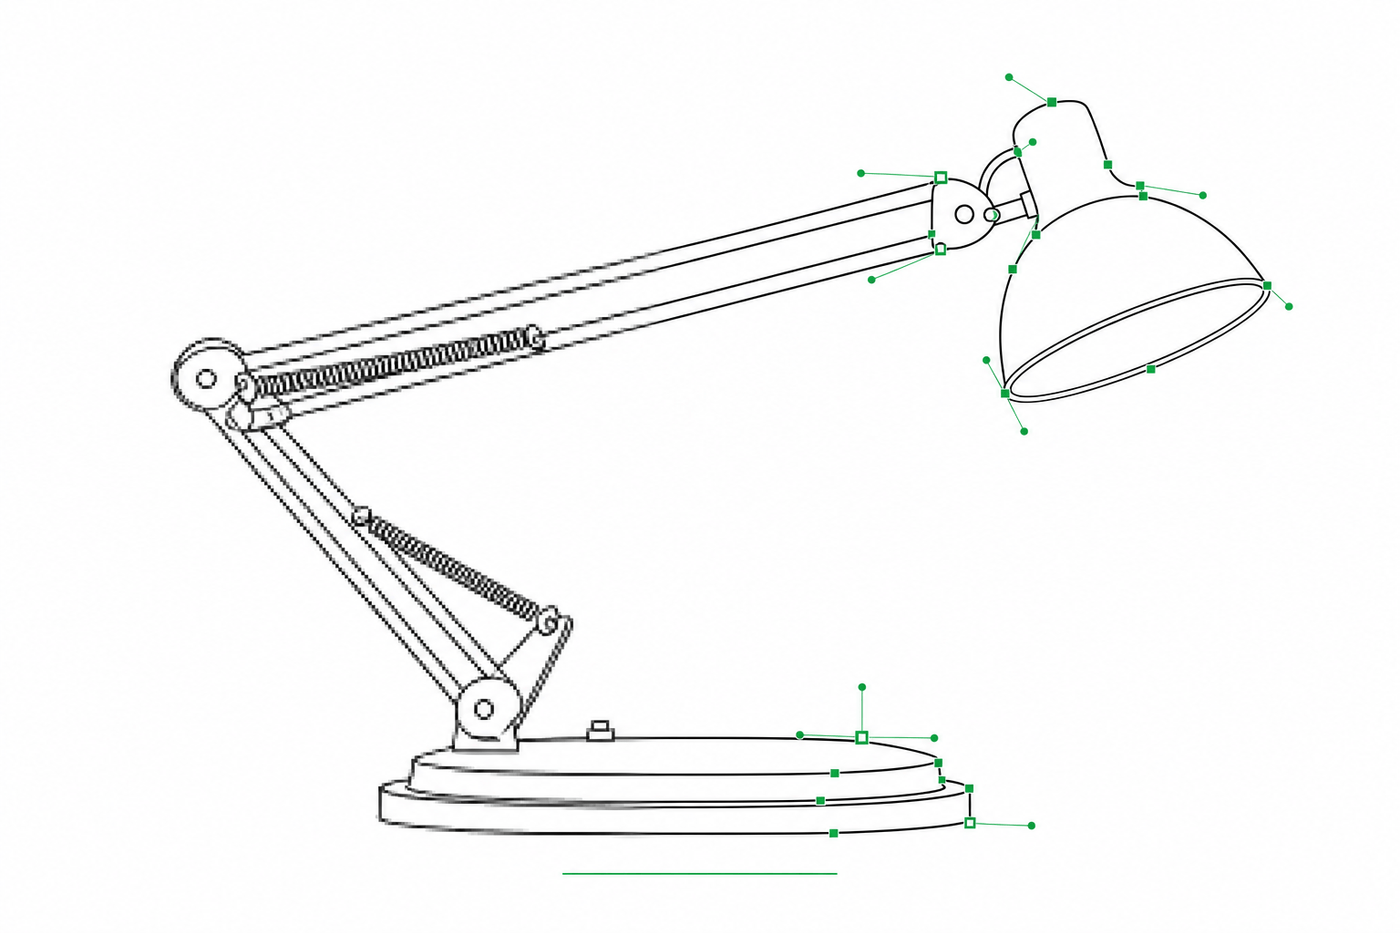
Image to SVG for Illustrator: How to Get Editable Strokes for Technical Line Art
Why many image-to-SVG conversions arrive in Illustrator as filled outlines you can't restyle — and two workflows that produce stroke-based, centerline-style SVG line art with adjustable line weights.